Thursday, November 19, 2015

R2-IQ: All coming together

Build Day 23:

Frame & Body, separate
I had a very productive night last night.  I started by rebuilding the shoulders to support all three legs.

With the new shoulders, the legs have a hard-stop at 0 degrees swinging forward (standing on two legs) and at 36 degrees swinging backward (standing on 3 legs)

I tried using magnets to hold the third leg in place, but that didn't work.  It's too heavy.

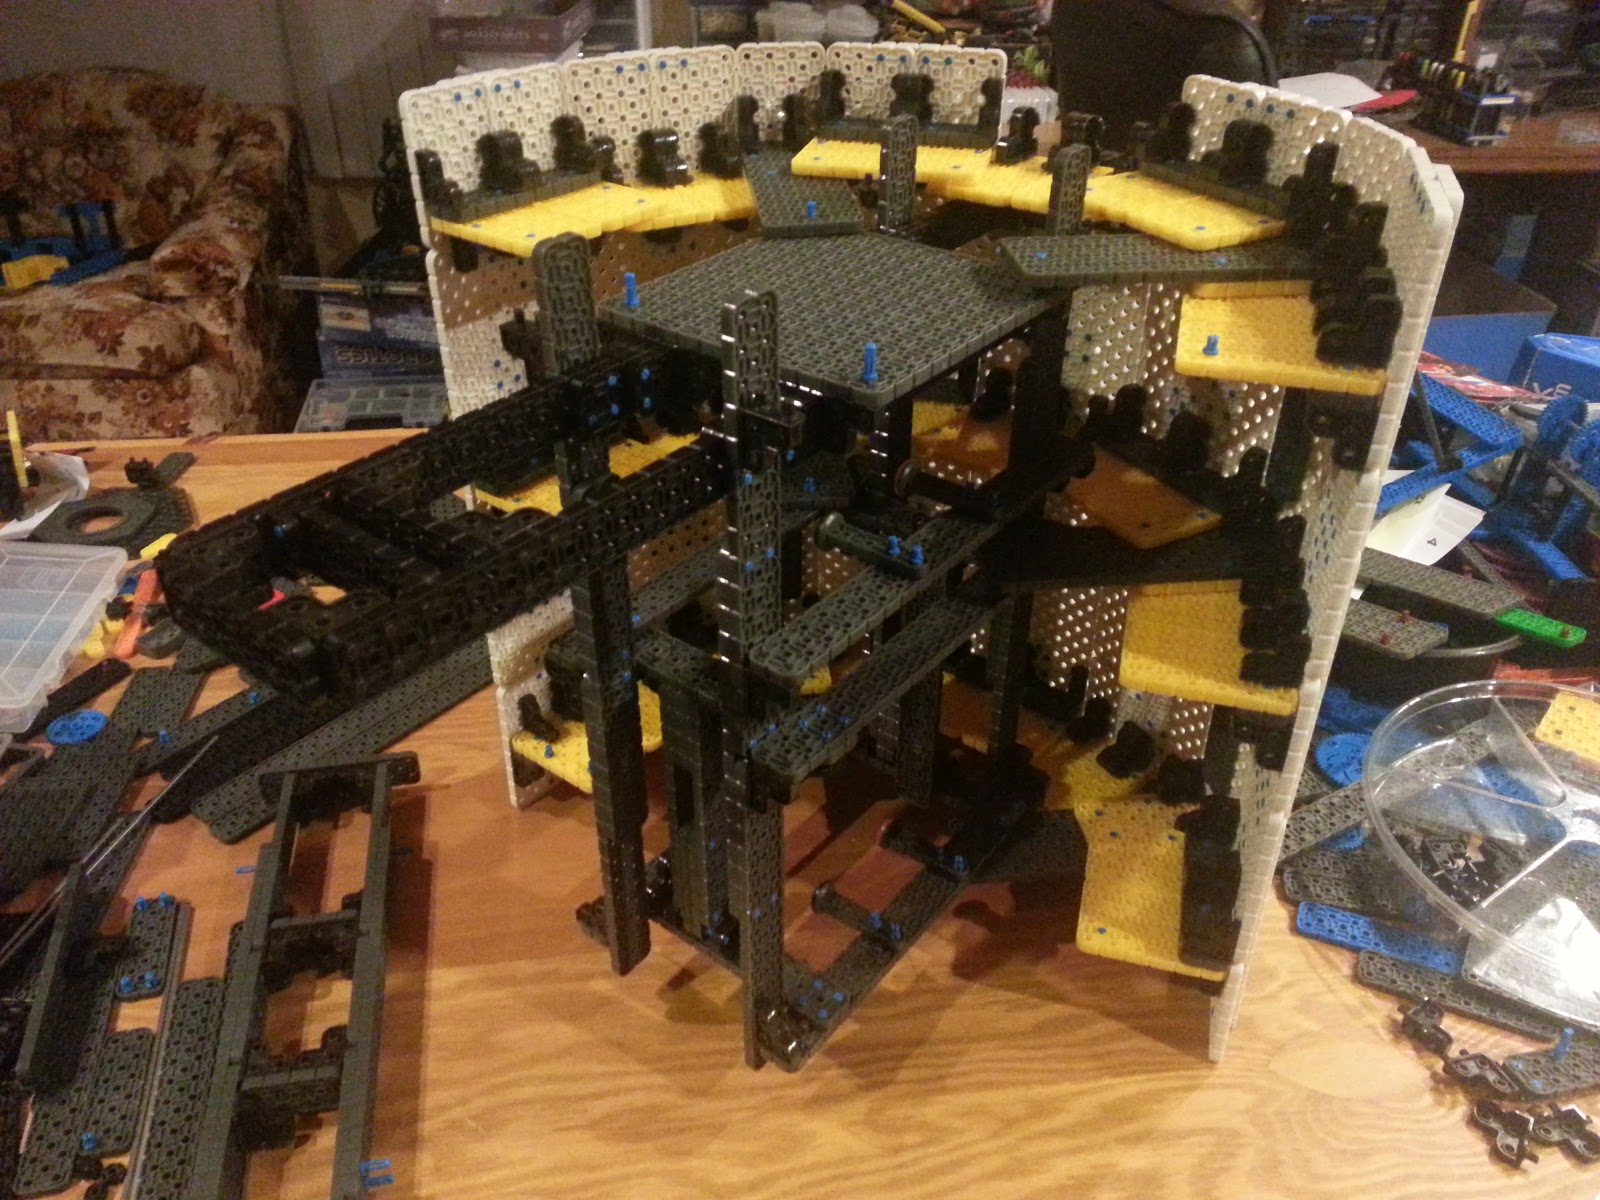
I had to split the body into four pieces to insert the frame.

1/2 body

Frame with 1/2 body attached

Frame with 3/4 body

Adding last section of body

Body with shoulder(s)

Frame inside body

R2 with head & 2 legs

R2 in 3 leg mode

Playing with color

More color 

Tuesday, November 17, 2015

R2-IQ: Head Start

Build Day 21:

Here's a first look at the head.  At this point, it looks more like a helmet.  Hopefully, I can make it look round, using square parts.

Monday, November 16, 2015

R2-IQ: 2-3-2


Build Day 20:

One of my favorite parts of this build will be R2's ability to transform between 2 legs and 3 legs and back to 2 legs.  It will not be done with actuators in the shoulders, but by using the motors in the feet.

Here are a couple pictures from my first test.  In this prototype, the third leg can not raise up into the body, but it will in the final version.

Leah adding a Duplo block to the robot

(I'm not very happy with the blog formatting options around videos)

The video shows my first trial run, switching from 2-3-2.  Right now, the shoulders are not very sturdy, and I'll need some work around how the legs move...  but it's a start.

Friday, November 13, 2015

VEX IQ Angles

VEX Angles

Creating a 22.62 degree angle
While building R2-IQ, I found the need to create different angles.  One way to do that is to connect two plates together with pins in various locations.

Using the red and gray plates pictured here with 1 blue pin and 4 yellow pins (pins shown twice, once in each plate) will create a 22.62 degree angle.  Both plates are pictured from above; do not flip them when assembling.

Below is a chart showing different angles that can be created, by leaving the blue pin in the same location and moving the yellow pins to other locations.
22.51234
distance00.511.522.53
10XX
0.590.00143.13157.38
2190.00126.87143.13
1.536.8790.00118.07
3253.1390.00112.62
2.522.6261.9390.00
4336.8767.3890.00
3.516.2646.4071.08
5428.0753.1373.74
4.512.6836.8758.11
6522.6243.6061.93
5.510.3930.5148.89
7618.9236.8753.13
6.58.8025.9942.08
8716.2631.8946.40
7.57.6322.6236.87
9814.2528.0741.11
8.56.7320.0232.78
10912.6825.0636.87
9.56.0317.9529.49
111011.4222.6233.40
10.55.4516.2626.78
121110.3920.6130.51

Thursday, November 12, 2015

R2-IQ: Part Count

Build Day 16: Parts

Short pin
I often try to keep track of parts as I'm building these big projects.  And I usually fail.  After the build, it's possible to calculate with reasonable accuracy how many beams and other parts were used.  But, it can be pretty tough to count pins and connectors.

On this build, I'm actually tracking the number of pin bags that I've opened (current 7 bags which have 120 short pins) so I should have a pretty good number for pins.
90 deg Angle Connector
Through a quirk of fate, I also have a very large quantity of this 90 degree angle connector.  

If you know me, you'll know why I rather like this connector.

So, I have an insane number of these connectors.  They come in bags of 32, and so far I've used 18 bags on the R2 build. (576 connectors)  I expect that number will go up 2 or 3x  when I'm done.

Wednesday, November 11, 2015

R2-IQ: Adding more support

Build Day 15:

Adding a third rib into the middle of the body was more difficult than creating the body with the other two ribs in the first place.  However, with it in place, the body is pretty rigid.

I will be adding enough internal support to connect the three legs together.


R2 Standing on 3 legs.
The next task will be to calculate the leg lengths and ensure the body is oriented correctly.

My first test-stand-up looks bad.  But we'll get it figured out.

Monday, November 9, 2015

R2-IQ: Extra Pictures

Build Day 13:

I have a couple extra pictures from over the weekend.

18 degrees

First, I was trying to figure out how to make an 18 degree angle.  In order to find the exact combination, I opened SnapCAD and changed the rotation angle on the grid to 18 degrees.  Then I put in two plates, and rotated the second one once (18 degrees).  I was able to line up the corner holes, and see which other holes lined up.

"Why?", you ask.  When R2 is in 3-leg mode, the body and legs are both tilted to 18 degrees.  So, the ankles will need to be solid at 18 degrees.


Powered caster wheel.

The front wheel (3rd leg) is going to a fancy powered wheel.  It will be a "Mecanum" wheel which, along with a second wheel, and multiple motors, will allow the front wheel to drive in any direction, making it a powered caster wheel.  (the picture shows two copies of the front wheel assembly.  The actual robot will only have one)

This will help to overcome a common problem with many R2D2 builds, where there is too much weight on the non-powered front wheel.

While these wheels are not available for VEX IQ competition robots, they are part of the VEX line, and do easily fit on the same axle as normal VEX IQ parts.

In the background, you can see the mockup of the foot that I made, to ensure the size is appropriate.